
No products in the basket.
Have you ever sat in your kitchen at night? You probably heard a very annoying sound. Drip. Drip. Drip. This sound means you need to know how to fix a leaking tap. Many people in the UK face this small problem. However, it can become a huge headache very quickly. It keeps you awake at night. Even worse, it wastes a lot of precious water.
Moving to a new country like the UK involves learning many things. For example, you must learn how the houses work. UK plumbing can look strange at first. But do not worry, because we are here to help. This blog post is fresh and simple for everyone to read. Therefore, you will soon be the master of your own kitchen sink.
Let us start this journey together right now.
Why Is It Essential to Fix a Leaking Tap Immediately?
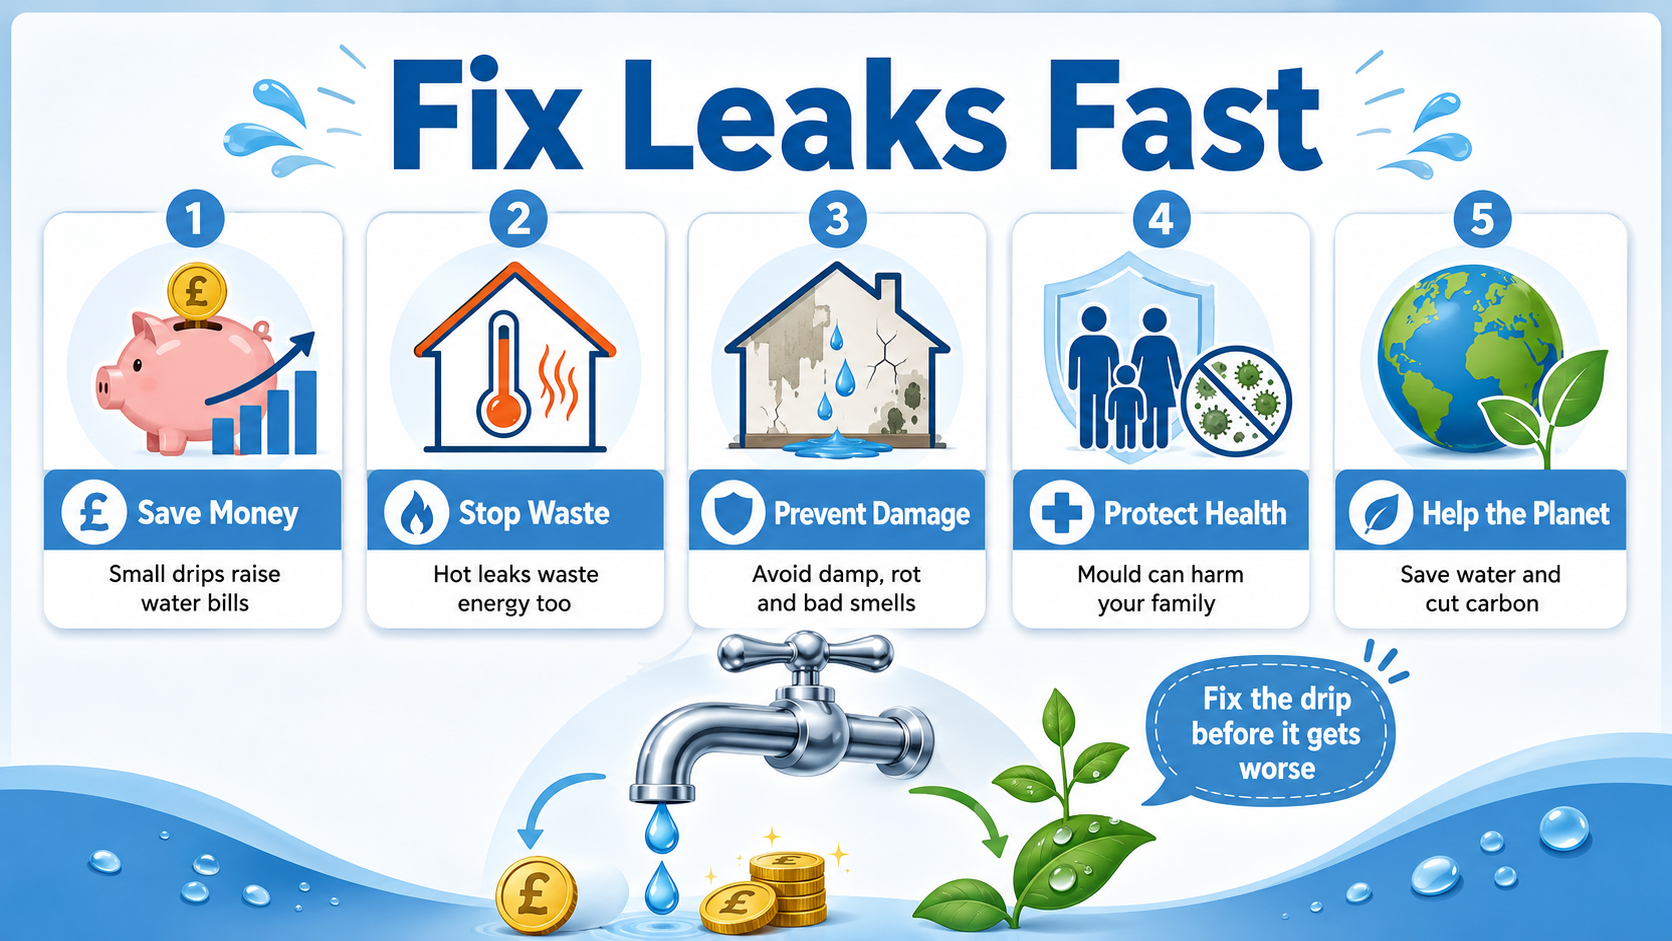
You might think a tiny drop does not cost much. However, those small drops add up on your UK water bill. If you have a water meter, you pay for every drop. So, you are literally watching your hard-earned money go down the drain.
Over a year, this could cost you thirty or forty pounds. That is enough money for a nice family meal! Specifically, the cost increases if the leak is from the hot tap. Then, you are also paying to heat water that you never use.
A small leak can often hide a much bigger problem. For instance, water can slowly seep into your kitchen cupboards. This leads to something called damp. Damp makes wood rot and creates a very bad smell.
Furthermore, it can cause mould to grow on your walls. Mould is not good for your health or your family. If you ignore the drip, the tap might eventually break completely. Then, you might have a flood in your kitchen. Dealing with a flood is much harder than fixing a drip.
In the UK, we must look after our natural resources. Every drop of clean water takes energy to process. When you waste water, you also waste that energy. As a result, your carbon footprint becomes much larger. We want to keep our British rivers full of life and fish. By learning to fix a leaking tap in the kitchen, you help the planet. It is a small act that makes a big difference. Therefore, fixing the tap is good for your wallet and the Earth.
What Tools Do I Need for UK Tap Repairs?
You need the right gear before you start the repair. Most of these items are available at local UK hardware stores. You can visit places like Screwfix, B&Q, or your local DIY shop.
| Tool Name | What is it for? |
| Adjustable Spanner | To loosen the heavy metal nuts. |
| Screwdriver | To remove the handle or decorative cap. |
| Replacement Washers | The small rubber part that stops the water. |
| PTFE Tape | Special tape to stop leaks in the threads. |
| A Soft Cloth | To protect the shiny chrome from scratches. |
Find an adjustable spanner that feels heavy and strong. Check if your tap handles have small screws. You might need a crosshead or a flathead screwdriver. Furthermore you should buy a small pack of different-sized washers. Most UK taps use standard sizes, but having a variety is smart. Always look for parts that mention British Standards (BS) for quality. Finally, keep an old towel nearby to soak up any spills.
How Can I Fix a Leaking Tap?
You can stop that annoying drip with a few basic tools. Start by gathering everything you need near the sink. After that, you must stop the water flow completely.
Shut Down the Water
Locate the stopcock under your kitchen sink. Turn this valve clockwise until it stays tight. Then, open your taps to drain any remaining liquid. This prevents a big mess in your kitchen cupboards.
Remove the Handle
Remove the small decorative cap on top of the handle. Use a screwdriver to loosen the screw underneath. After this, pull the handle straight up and away. Use a soft cloth to protect the shiny metal surfaces. This keeps the unit looking brand new.
Swap the Old Parts
Now, use an adjustable spanner to loosen the central nut. Turn the tool anti-clockwise with a steady hand. Once it is loose, lift out the internal stem. You will see a small rubber washer or a ceramic disc. Replace the old part with a fresh one immediately.
- Check the size of your new washer carefully.
- Clean any grit from the metal seat now.
- Place the new part inside firmly.
Put It Together
Then, put the unit back together in reverse order. Tighten the nut with your spanner carefully. Avoid using too much force during this stage. Following this, turn the main water supply back on slowly. Watch for any drips as the pipes fill again. Success feels great once the annoying sound stops! A quiet home makes everyone much happier. Check your work one last time.
What are the Different Types of Taps in UK Homes?
Compression taps are the most common older style in Britain. They use a screw mechanism to squash a rubber washer. This action stops the water flow through the pipe. Usually, the washer just gets old and goes hard. When this happens, it can no longer make a tight seal. Consequently, the water finds a way to squeeze past it. Replacing the washer usually solves the problem instantly. It is the cheapest repair you can do in your home.
Modern UK kitchens often have fancy mixer taps. These usually have one lever for both hot and cold water. Inside, they use two smooth ceramic discs to control water. These discs are very strong and last a long time.
However, a tiny bit of grit can scratch them. If they are scratched, the tap will start to drip. You cannot usually fix the discs themselves. Therefore, you must buy a new cartridge for that specific brand.
Sometimes the water leaks from the base of the spout. This is often caused by an “O-ring” that has failed. An O-ring is a thin circle of rubber. To fix this, you must lift the spout off. Replace the old rings with new ones from a kit. If the leak is from the handle, the nut is loose. Simply tighten the nut under the handle slightly. Always check where the water is coming from first. This saves you time and prevents you from buying the wrong parts.
Why is My Tap Still Dripping After Changing the Washer?
You changed the parts but water still falls. This feels very frustrating for many people. Let us look at common reasons for this issue.
The Metal Seat Is Rough
Sometimes the metal inside the unit gets quite rough over time. Professional plumbers call this specific part the valve seat. A damaged surface prevents the rubber from making a tight seal. Consequently, water sneaks through the tiny gaps easily. You need a reseating tool to smooth the metal now. This tool grinds the surface back to a perfect finish. Rotate the tool slowly to achieve the best results.
Using the Incorrect Size
A washer that is too small will not stop water. Conversely, a giant washer might not sit flat against the seat. Always compare the old part with your new one.
- Bring the old part to the local shop.
- Buy a pack with many different sizes.
- Ensure the fit is snug and firm.
- Check for any debris on the rubber.
Checking the Base Rings
Look at the very bottom of the spout now. Do you see water pooling around the metal base? This usually means the O-ring has failed. An O-ring is a thin circle of black rubber. You must remove the spout to replace these small rings. Clean the area before you slide the new rings on. Apply a little bit of grease for a better seal.
Final Adjustments
Maybe you did not tighten the nut enough. However, avoid using too much force on the metal. Excessive pressure can crack the internal parts easily. Check every connection again for peace of mind. Small bits of grit also cause problems. Flush the pipes to clear any dirt. This usually solves the problem for most homeowners.
When should I call a professional UK plumber?
Sometimes, a simple DIY job becomes a bit too difficult. If the metal parts are very rusty, they might break. This is common in older houses with very old pipes. If a valve is seized and will not turn, stop immediately. Applying too much force can snap the water pipe. That would lead to a very serious emergency.
Furthermore, you should call a pro if the leak is under the floor. If you see water coming through the ceiling, call someone fast. It is wise to find a plumber who is properly registered. In the UK look for “CIPHE”-registered professionals. This means they have the right training and insurance.
A professional plumber might charge between £60 and £100. This depends on where you live in the UK. While this is more expensive than DIY, it brings peace of mind. They can also check the rest of your plumbing system. However, try the simple steps first to save your money. Most times, fixing a leaking tap in the kitchen is a DIY job.
Conclusion on Fix a Leaking Tap
You have now learned the basics of home plumbing maintenance. Fixing a drip is a wonderful way to start. It gives you a great sense of pride in your home. Furthermore, you are saving money on your UK utility bills. Those few pounds saved every month really add up over time. You are also doing a great job for the environment. If you would like to build your DIY skills further, our Professional Online Plumbing Course can help you.
Remember to take your time and follow the steps carefully. Do not rush the process or force the metal parts. If you feel stuck, watch a quick video online. Every homeowner was once a beginner just like you. So, you will feel much more at home in the UK.
Next time you hear that drip, do not be afraid. Grab your spanner and your soft cloth with confidence. You now know exactly how to fix a leaking tap. Good luck with your repair, and enjoy your quiet kitchen!
FAQs
1. How do I stop my kitchen tap from dripping?
- Turn off the water supply and check the washer, O-ring, or cartridge. Replacing a worn part often stops the drip.
2. Can I fix a leaking tap myself?
- Many minor tap leaks can be fixed with basic tools and replacement parts if you follow the manufacturer’s instructions.
3. Why is my kitchen tap dripping when the water is off?
- A worn washer, damaged cartridge, or faulty valve may not be sealing properly, allowing water to drip.
4. What is the most common cause of a leaking tap?
- The most common cause is a worn washer or cartridge that no longer creates a watertight seal.
5. Do you need a plumber to fix a dripping tap?
- Simple leaks can often be repaired yourself, but a plumber may be needed for complex or persistent issues.
6. How much will a plumber charge to fix a dripping tap?
- In the UK, fixing a dripping tap typically costs between £50 and £150, depending on the repair and location.